How to: Prune your Panicle Hydrangeas!
A Guide to Pruning Panicle Hydrangeas: Tips for Healthy Blooms
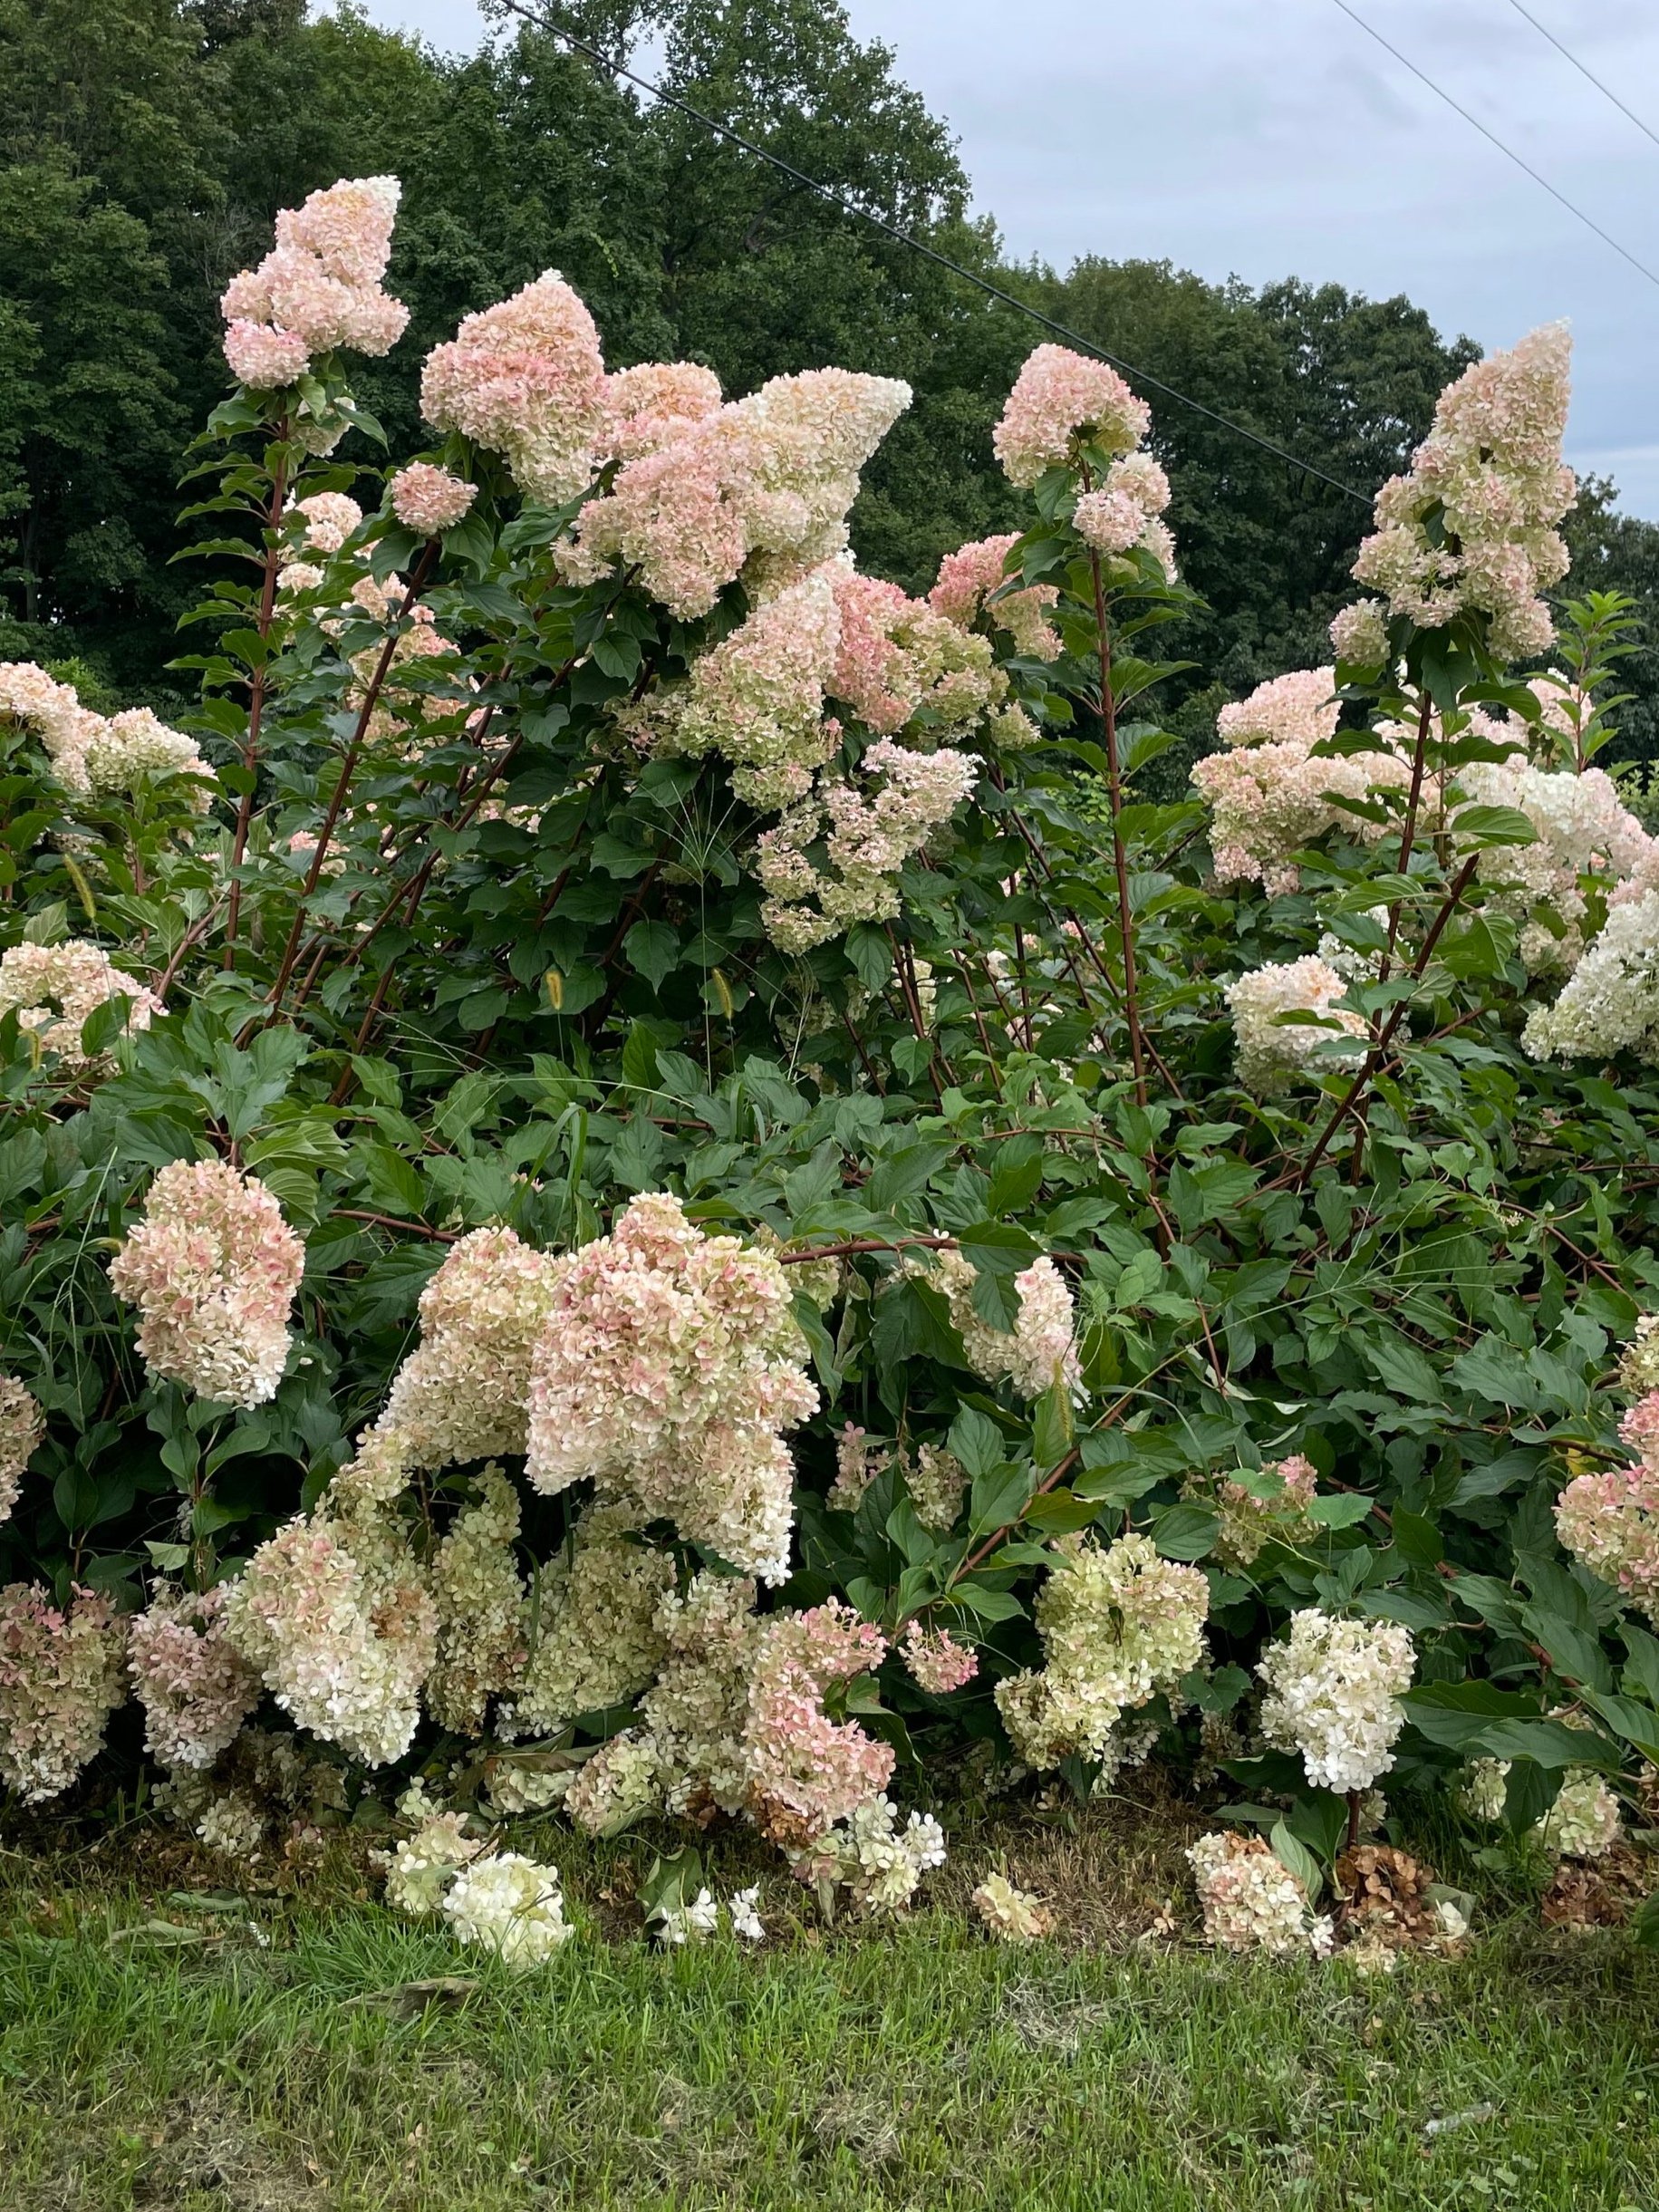
A limelight hydrangea desperately in need of pruning. See how many of the branches aren't able to support the weight of the blooms and end up flopping on the ground? A comprehensive pruning before the plant started to leaf out for the season would have fixed it!
Panicle hydrangeas (Hydrangea paniculata), with their stunning conical flower heads and adaptable nature, are a favorite among gardeners. Unlike other hydrangea species (macrophylla or “big leaf” and oak leaf), these hardy shrubs bloom on new wood, making pruning a straightforward task. Whether you’re a seasoned gardener or a beginner, understanding how and when to prune panicle hydrangeas will ensure your plants thrive year after year. Here’s everything you need to know.
Why Prune Panicle Hydrangeas?
Pruning serves several purposes for panicle hydrangeas. It encourages healthy growth, promotes larger and more abundant blooms, and helps maintain an attractive shape and size. Because these hydrangeas flower on new wood (growth from the current season), pruning at the right time stimulates fresh shoots that will bear those gorgeous, long-lasting flower clusters. Additionally, removing dead or damaged wood keeps the plant healthy and prevents disease.
When to Prune
The best time to prune panicle hydrangeas is late winter or early spring—think late February to early April, depending on your growing zone. If you don’t know your growing zone, click here. At this point, the plant is still dormant, and you can easily see its structure without leaves in the way. Pruning in early spring also gives the shrub plenty of time to develop new growth before the blooming season, which typically begins in mid-to-late summer.
You can also prune in late fall after the flowers have faded, though spring is generally preferred because it allows you to assess winter damage. Avoid pruning in late spring or summer, as this can remove the buds forming for that year’s flower show.
How to Prune Panicle Hydrangeas
Pruning panicle hydrangeas is simple once you get the hang of it. Follow these steps for a successful trim:
Gather Your Tools: Use sharp, sanitized pruning shears or loppers to make precise cuts and prevent the spread of disease. For thicker branches, a pruning saw may come in handy.
Assess the Plant: Start by stepping back and observing the hydrangea’s overall shape. Look for dead, damaged, or crossing branches that need to be removed. Look for branches pointing downward that will become heavy and droopy with blooms in the late season.
Remove Dead Wood: Cut away any branches that are brown, brittle, or show no signs of life. Gently scratch the surface of a stalk: if the branch is brown under the bark, chop it off. If it is green, it is still alive. Make your cuts just above a healthy bud or where the branch meets the main stem.
Thin Out Crowded Areas: If the center of the shrub looks dense, remove some of the older, weaker stems to improve air circulation and light penetration. Aim to open up the plant without overdoing it—panicle hydrangeas can handle a good trim, but you don’t want to sacrifice too much potential growth. A general rule of thumb is to cut back around 1/3 of the total size of a mature plant.
Cut Back Stems: For most panicle hydrangeas, cut the remaining healthy stems back by about one-third to one-half their length. Make each cut just above a pair of buds, angled slightly to shed water. This encourages strong new shoots. If you’re aiming for larger blooms, you can prune even harder, leaving just a few sets of buds per stem.
Shape the Shrub: Step back periodically to ensure the plant maintains a natural, balanced form. Panicle hydrangeas look best with a slightly rounded or vase-like shape.
Clean Up: Remove all pruned branches and debris from around the base to prevent pests or rot.
Special Considerations
Young Plants: If your panicle hydrangea is newly planted, skip heavy pruning for the first year or two. Focus on removing only dead or damaged wood to let it establish a strong root system.
Mature Plants: Older shrubs may benefit from rejuvenation pruning every few years. This involves cutting the entire plant back to 6-12 inches above the ground in early spring. It’s a bold move, but panicle hydrangeas are resilient and will bounce back with vigorous growth and blooms by summer.
Variety Matters: Popular cultivars like ‘Limelight,’ ‘Pinky Winky,’ or ‘Quick Fire’ all follow the same pruning guidelines, though their size and growth habits may vary. Tailor your cuts to the mature size you want.
Common Mistakes to Avoid
Pruning Too Late: Cutting in late spring or summer removes the new wood that produces flowers, leaving you bloomless for the season.
Over-Pruning: While panicle hydrangeas are forgiving, taking off too much can reduce the number of flowers. Stick to the one-third to one-half rule unless rejuvenating.
Blunt Tools: Dull shears crush stems instead of cutting cleanly, which can harm the plant. Keep your tools sharp!
Aftercare
Once pruned, give your hydrangea a little TLC. Water it well if the soil is dry, and consider adding a layer of mulch around the base to retain moisture and regulate soil temperature. A balanced fertilizer (like 10-10-10) applied in early spring can also boost growth, though panicle hydrangeas aren’t overly fussy about feeding.
Enjoy the Rewards
With proper pruning, your panicle hydrangea will reward you with a summer spectacle of creamy white, pink, or even reddish blooms that last well into fall. These low-maintenance beauties are a joy to grow, and a little pruning know-how goes a long way toward keeping them healthy and vibrant.
So grab your shears, head out to the garden, and give your panicle hydrangea the trim it deserves. By next summer, you’ll be admiring a flourishing shrub that’s the envy of the neighborhood!
